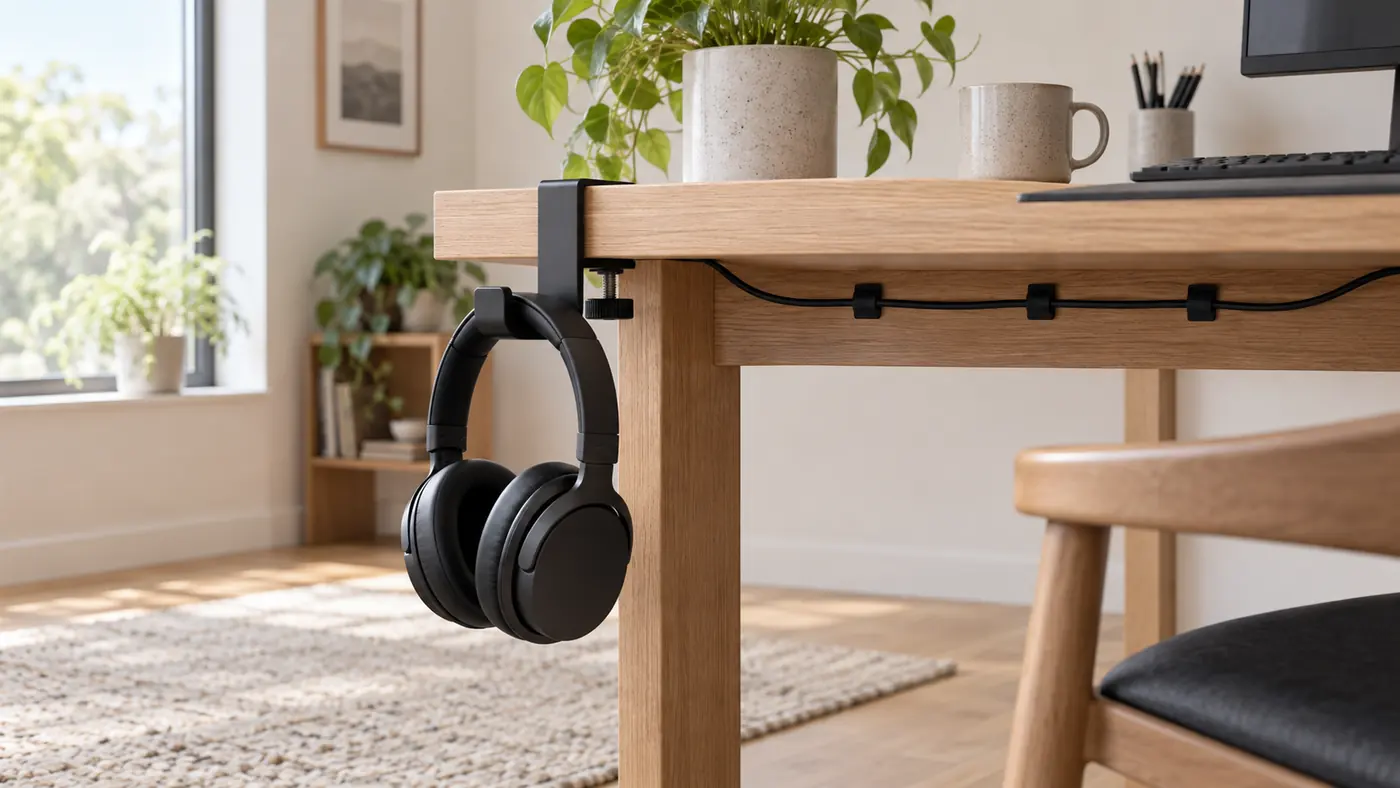
Begin with the desk edge, then the hanger
A headphone holder is often treated as a tiny accessory, yet its clamp must negotiate the same real desk features as a monitor arm or cable tray: thickness, aprons, bevels, finish sensitivity, drawers, and nearby movement. I begin with the desk because a beautifully described hook does not change the shape of the surface that must hold it. In the first pass, I look for a short section of edge where top and bottom pads can meet flat, parallel material without covering a seam or pressing beside a moving drawer.
That small audit makes later product language easier to read. Clamp opening, pad material, screw position, hook projection, and listed compatibility describe different jobs. A large opening speaks to thickness range; it does not prove a fit over a rounded edge. For a detailed category starting point, this desk clamp headphone holder comparison lays out the choices I would verify against a real desk. A padded clamp may be considerate of a surface, but it does not make a skewed contact stable. The practical question is simple: does the intended location offer a clean interface before the headset and cable enter the picture?
Separate storage capacity from access
The holder must carry a headset, but storage capacity is only one part of the decision. A headset needs a reachable path on and off the hook; the person at the desk needs knee and chair clearance; a drawer needs its full travel; and a cable needs a direction that does not cross those same movements. I treat these as separate clearances because a good-looking hanging position can still interrupt a normal desk transition.
A useful trial happens before the clamp is tightened. Hold the headset at the proposed height, sit down, roll the chair, open the nearest drawer, and pull the headset away as if a call had just started. The goal is not to stress-test the product or make a comfort claim. It is to notice a collision while nothing has been mounted. If the cable catches a rail or the earcups meet a cabinet, the site is wrong even if the hook itself fits the edge.
Map the cable before adding clips
Cable clips work best as route markers, not as a way to hide a cable after the fact. I trace from the actual connector toward the hook, marking the one place where the lead becomes vertical, the places it must avoid, and the small amount of slack required for ordinary pickup. This makes the path intelligible even if a different device or headset is used later.
The first clip should solve a specific drift; the second should protect a movement zone. Every additional clip should have the same justification. A neat line can still be a poor route if it bends sharply beside a connector, blocks a drawer, or turns a service loop into a taut line. I look from above and below the desk because the hidden view often reveals the real pinch point.
Compare the clamp, the hook, and the route together
Comparison is clearest when each feature is attached to a desk question. Does the lower pad clear the underside? Is the screw accessible after installation? Does the hook leave room for the headset’s earcups and microphone boom? Can the cable descend without entering the chair path? This approach avoids turning a specification list into a vague score.
I use the product details as a prompt for verification, not a substitute for it: confirm the actual desk edge, check the intended headset shape, and ask a seller for clarity where a photo or brief listing leaves the clamp interface unclear.
| Question | What to check | What not to assume |
|---|---|---|
| Clamp interface | Parallel contact, thickness, underside clearance | Opening range proves every edge fits |
| Headset storage | Hook shape, earcup space, drawer and chair paths | A hook is automatically clear below a desk |
| Cable route | Connector access, slack, clips, moving zones | More clips always make a better route |
| Desk reset | Pickup, return, shared visibility, later inspection | A tidy photo proves daily use will stay tidy |
Decision checklist
- Can both clamp pads meet a real, flat desk interface?
- Can the headset be lifted without a drawer, knee, or chair collision?
- Does the cable have a deliberate path and controlled slack?
- Can the setup be explained and reset without improvisation?
Use a short decision table
A table is useful when it keeps unlike questions separate. Clamp fit is about the desk interface. Hook shape is about the headset. Cable clips are about the route. Nearby furniture is about access. A holder can be strong in one column and still be the wrong choice for a particular workstation.
I prefer a small table and a short written record over an elaborate rating system. The record should state what is confirmed, what needs a manual or seller answer, and what the desk itself rules out. That keeps the comparison specific without claiming that one arrangement will be equally suitable for every desk, headset, or work pattern.
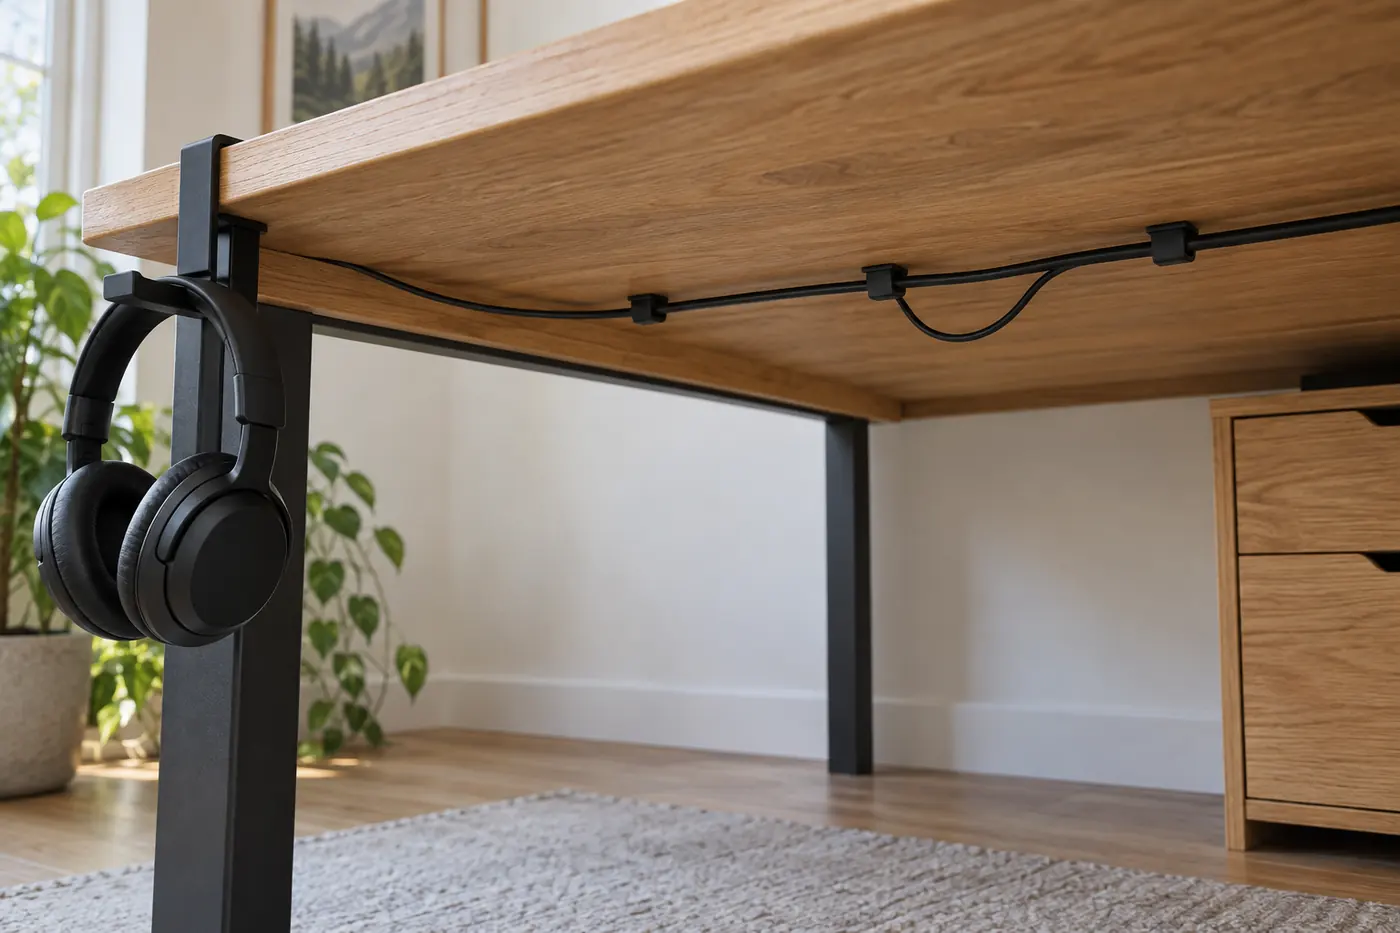
Install gently, then revisit
Installation should be calm: clean the contact area, seat the clamp squarely, tighten in small turns according to the product guidance, and check that the holder stays level during ordinary headset pickup. More force is not better evidence. A clamp that cannot sit squarely is signaling an interface issue, not asking for an improvised shim or a harder twist.
After a normal day, I revisit the pads, screw position, clip edges, slack, drawer path, and chair path. This is an inspection rather than a retightening ritual. If something has moved, I first identify the cause—edge profile, cable pull, new desk hardware, or a poor location—before changing the setup. A short review makes the system easier to reset and share.
Keep the boundary honest
This is a consumer setup method, not a promise about headset protection, desk durability, productivity, posture, or health. Follow the holder, headset, desk, and cable maker instructions for their actual materials and limits. Stop and seek appropriate support if hardware is damaged, a cable is frayed, or a workspace condition creates an electrical or safety concern.
The most useful result is modest: a headset has a known resting place, the cable follows an intentional route, the desk edge has been checked, and a later change can be traced. That clarity makes a small accessory feel less like clutter management and more like a repeatable desk decision.
When the desk says no
Sometimes the strongest comparison outcome is a refusal to force the accessory into a poor interface. A rounded edge may not give the clamp two parallel surfaces. A front-mounted hook may conflict with a drawer. A cable may have no safe corridor between a dock and the storage point. Those conditions do not mean the desk has failed or that a buyer has chosen badly. They simply show that a holder, a desk, and a route are a system; a specification list cannot decide all three without a view of the actual workspace.
In that situation, narrow the next step. Ask the holder maker about an edge profile, review the desk-care guidance, choose another side of the desktop, move the device end, or consider a different storage method. Avoid adding unapproved padding, forcing a screw past ordinary resistance, or placing clips where an adhesive cannot remain flat. A small pause at this point is less disruptive than repairing a marked desk surface, replacing a cable that has been pulled through a drawer path, or rearranging hardware after the first collision.
Keep the finished record compact: usable edge, chosen hook location, headset clearance, cable segments, clip positions, and any unresolved condition. That record is portable when the desk is reset or shared. It also makes a later review more honest. You can see whether a new monitor arm, chair, cable, or drawer changed the interface instead of assuming that the original holder or headset suddenly became the problem. A compact record also reduces overbuying: once a desk limit is explicit, a shopper can compare only the feature that responds to it instead of collecting accessories that compete for the same small edge or route.
There is also value in recording a deliberate non-installation. A desk may be serving a monitor arm, a pull-out tray, a shared chair route, and several device leads already; the open edge is not automatically spare capacity. Naming that limit protects the next decision from a false comparison between products that are all incompatible with the available space. A clear “not this edge” result can direct attention to a wall stand, a different side of the work surface, or a simpler cable reset without treating any one arrangement as a failure.
Build the desk record one decision at a time
The six supporting notes below divide the method into small reader jobs. Use them to audit an edge, set a clamp, map a cable, protect clearance, reset a shared desk, and inspect the result. They are not a predecessor chain and they do not carry external commerce links.