Cable route map is a narrow desk question, not a generic tidy-up task. Map the headset lead from hook to device so that clips guide a path instead of hiding a future snag. The useful evidence comes from the actual materials, movements, and equipment at the intended location, because a holder that looks plausible in a product image may meet a completely different desk interface in use.
A useful route map names the connector end, horizontal run, vertical drop, hook end, and every movement corridor the lead must avoid. This turns a vague cable-management goal into a small set of observable segments. When a dock moves or a drawer is used, the affected segment can be revised without recreating the whole desk. The map is therefore a maintenance aid as much as an installation plan.
Start at the connector, not the hook
A cable route begins where the headset actually connects: a computer port, dock, audio interface, charging lead, or adapter. Find that end first and trace the most direct safe corridor toward the holder. This prevents a neat-looking hook from being paired with a cable that must cross a knee space or drawer path.
Keep the route visible in a quick overhead sketch. Mark the connector, the desk edge, the hook, any moving drawer, and the point where the cable changes from vertical to horizontal. A drawing exposes long detours and sharp turns before adhesive becomes part of the decision.
The device connector determines where the route begins, even if the hook is the visible feature. For this guide, start at the connector, not the hook is the immediate checkpoint; record the observed condition and its next question before moving to another desk decision.
Reserve slack where motion happens
Cable slack has a job. A small service loop near a connector can reduce strain when a device is moved, while a controlled drop near the hook makes it easier to lift the headset without pulling the whole route taut. The aim is deliberate slack, not a loose loop hanging in a traffic zone.
Test the headset’s normal removal and return with the proposed route held by hand. If the connector tugs, the hook pulls the cable sideways, or the loop reaches a chair wheel, adjust the corridor. Clip placement should follow this movement test rather than forcing the cable to match a decorative line.
Slack has a purpose when it absorbs normal pickup rather than hanging through a movement corridor. For this guide, reserve slack where motion happens is the immediate checkpoint; record the observed condition and its next question before moving to another desk decision.
Choose clip zones with a clean surface
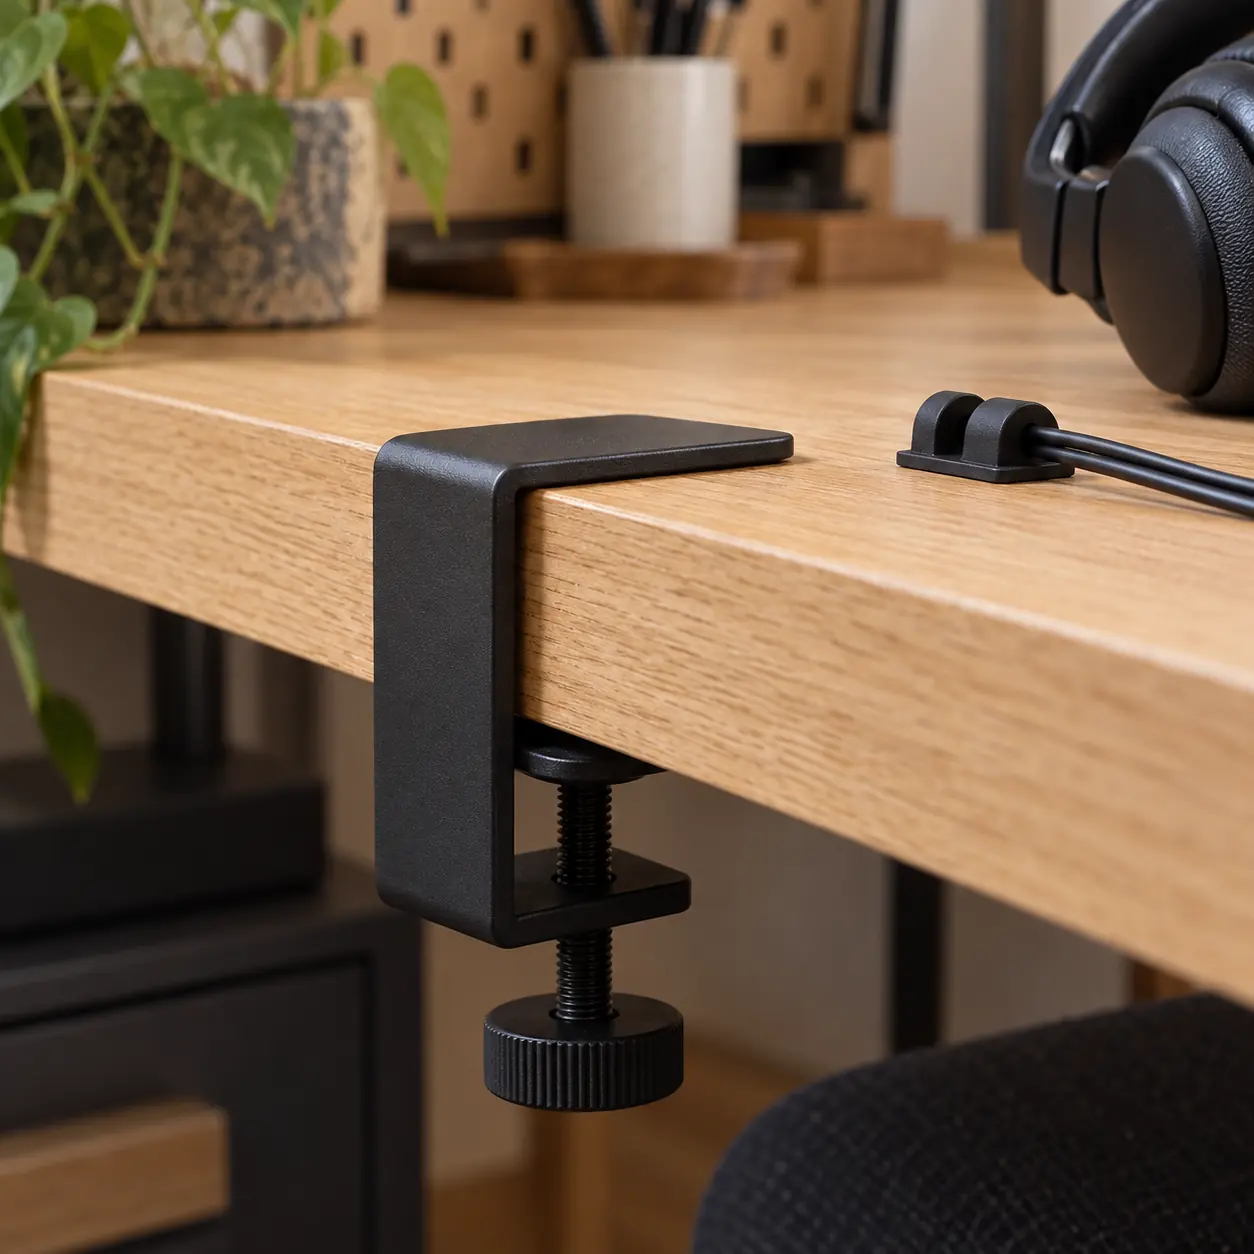
Adhesive clips depend on a clean, compatible surface and a contact area that remains accessible. Avoid placing them across seams, dusty underside grain, cable trays, or the edge of a desk where the cable will pull them sideways. The product instructions should guide preparation and cure time.
Mark candidate locations with removable tape before peeling a backing. A good sequence often uses one clip to establish direction, another to control the vertical drop, and a final clip only where it solves a real drift. More clips are not automatically a better route.
A clean surface and a marked path help each adhesive clip solve a named directional problem. For this guide, choose clip zones with a clean surface is the immediate checkpoint; record the observed condition and its next question before moving to another desk decision.
Respect bend and connector geometry
A cable should not be forced into a sharp angle immediately beside a connector, audio plug, or inline control. Leave a gentle turn and enough room to connect or disconnect without scraping the desk edge. This is basic route hygiene, not a claim about a cable’s undisclosed durability.
Look at the route from a seated position and from underneath the desk. A path that appears tidy from above may pinch the lead behind a cabinet or cross a drawer slide below. The second view is where hidden stress points and accidental cable traps tend to reveal themselves.
Gentle turns near plugs keep the route from treating connector geometry as an afterthought. For this guide, respect bend and connector geometry is the immediate checkpoint; record the observed condition and its next question before moving to another desk decision.
Build a reset-friendly path
A good route can be explained in one sentence: headset returns to the hook, lead follows the underside, connector stays free. If a new person cannot tell where the cable belongs, the system will gradually become a tangle. Simplicity is a maintenance choice, not a minimalist aesthetic.
Leave a small label in your own desk notes rather than attaching a prominent label to shared furniture. Record the clip sequence and the device end. This keeps the setup repeatable without pretending that a particular cable route is appropriate for every headset, desk, or shared workspace.
A route that can be explained in segments is easier to reset after equipment changes. For this guide, build a reset-friendly path is the immediate checkpoint; record the observed condition and its next question before moving to another desk decision.
Review after real use
After a few ordinary calls, listening sessions, and desk resets, inspect the clips and route. Check that the cable still reaches the device without tension and that no clip has started to lift or migrate. Small changes are easier to correct before a cable begins traveling through a moving path.
If the route fails, remove only the failed assumption. Perhaps the vertical drop was too short, the drawer needs a different clearance, or the headset is stored on the opposite side. A map makes revision specific; it avoids treating every cable problem as a reason to add more clips.
Damaged leads require an equipment response, not additional clips or a tidier path. For this guide, review after real use is the immediate checkpoint; record the observed condition and its next question before moving to another desk decision.
What this check carries forward
Cable routing has a useful hierarchy. First protect the connector and the device port. Then protect the movement corridor around chairs, drawers, and legs. Only after those two jobs are solved should the route be judged for visual neatness. This order prevents a desk from becoming photo-ready but awkward in use. It also explains why a little visible slack can be a better result than a perfectly straight lead: slack belongs at a planned point where it can absorb ordinary motion without entering a traffic zone.
A route map should survive a small change of equipment. If a dock moves, a headset is charged elsewhere, or an adapter is introduced, you should be able to identify which clip or loop needs revision. This is why it helps to think in segments—device end, horizontal run, vertical drop, hook end—instead of describing the cable as one continuous thing. Each segment has a different constraint and can be corrected without redoing the entire desk.
Avoid using clips as a substitute for inspecting a damaged lead. If a cable jacket is split, a connector is loose, or a plug warms unexpectedly, stop using the cable and seek appropriate product or electrical support. A tidy route cannot make compromised equipment appropriate. The map is a way to make healthy equipment easier to use and observe, not a way to mask a condition that needs a different response.
Keep the route short enough to redraw from memory. If a person cannot explain where the lead leaves the device, where it turns, and how it reaches the holder, the system will be hard to maintain after one change. A map does not need visual perfection. It needs a safe connector end, visible slack, and a corridor that remains clear when the desk starts behaving like a desk again.
A route map earns its place when a cable can be reconnected after a desk change without guessing where slack belonged. Keep the connector end, the first turn, the vertical drop, and the protected movement zone visible in the record. Each part answers a different practical question: access at the device, direction across the desk, clearance below it, and safety around furniture. If a clip lifts or a new dock changes the path, revise the one segment that has changed. The map should not become an instruction to conceal every centimetre of lead; it should make the remaining cable understandable and easy to inspect.
Use the next note, not a bigger claim
Once the lead has a protected corridor, check the stored headset itself against the chair, drawers, and cabinet edges. A tidy path can still fail if the hook sits in a movement zone, so use the clearance note before treating the clips as final. If the route cannot reach the connector with controlled slack, redraw it.
Return to the main Deskline Register field report for the wider comparison method. The remaining notes can help distinguish a cable-direction issue from a clamp-interface or shared-routine issue without turning the route into a generic cable-management claim.